
Adobe Spark Post: Sharing Your Story
Everyone has a story to tell. No matter the age, we all have something to share about our life, passions, family, hobbies and dreams. Whether in written form, recorded audio or in moving pictures, telling our story is a way for us to let others know who we are. I recently saw this quote by Gary Vaynerchuck, “There’s only one story, yours.” I would add that you should tell your story before someone else does.How do you share your story? Do you struggle with putting your story together? What are some tools to put your story together? For over two years, I’ve been using an amazing tool called Adobe Spark Post to share my stories. Post is one of three Adobe Spark apps Adobe developed that is simple to use and makes you look like a pro! Great tool for educators, students, bloggers or anyone just wanting to create gorgeous content to tell a story.
Get Your Readers Attention
Images are a great way to grab a reader's attention. Most people will glance over text but will stay on a page that has stunning graphics. Combining images with text hooks your reader in. It’s for that reason many retail marketers use a combination of text along with images to connect with customers.
Many influencers, media types, companies have seen the importance of adding visual content to market their business because of the impact it has on their audience. Using images and video increases the time their followers and consumers spend on their web page or social media accounts.
Telling Your Story With Images

Using images is a simple and creative way to share a story. Adobe Spark Post is a great tool for creating these images. If you’ve spent any time on social media recently, stories or moments are a big part of how people are sharing their experiences with one another. If you’ve ever followed someone’s story, there is a progression, a start and a finish. A post is a simple way for students to share their story too.In Adobe Spark Post, students will have the option of selecting a preferred size for the image. Scroll through the different categories of sizes.You can choose to search free photos in Adobe Spark Post or upload your own. There is certainly nothing wrong with using free photos. However, when you are telling your own story, I encourage you and your students to use your own images.


Once students upload a picture or choose a free one, they can customize the font, color, design, layout and filter. If students get stuck customizing their image, they can use the Style tool for suggestions. By moving the green circle around, they can randomly generate a style for inspiration.This next step is where students can create consistency to their images to tell their story. By clicking on the Spark logo on the upper left corner of the page, they will be able to view all of their Adobe Spark projects. Once in their projects window, students can hover over their first image and Duplicate the image. They will then be prompted to name this new project. Next, they can click on the new project and begin editing.The process continues until they have created the image they need to tell their story.
Here’s an example I put together using Adobe Spark Post. Notice the consistency of the images. I kept the filters, font, and size the same as I changed the photo. It’s a great way to keep a story together and help it make sense.


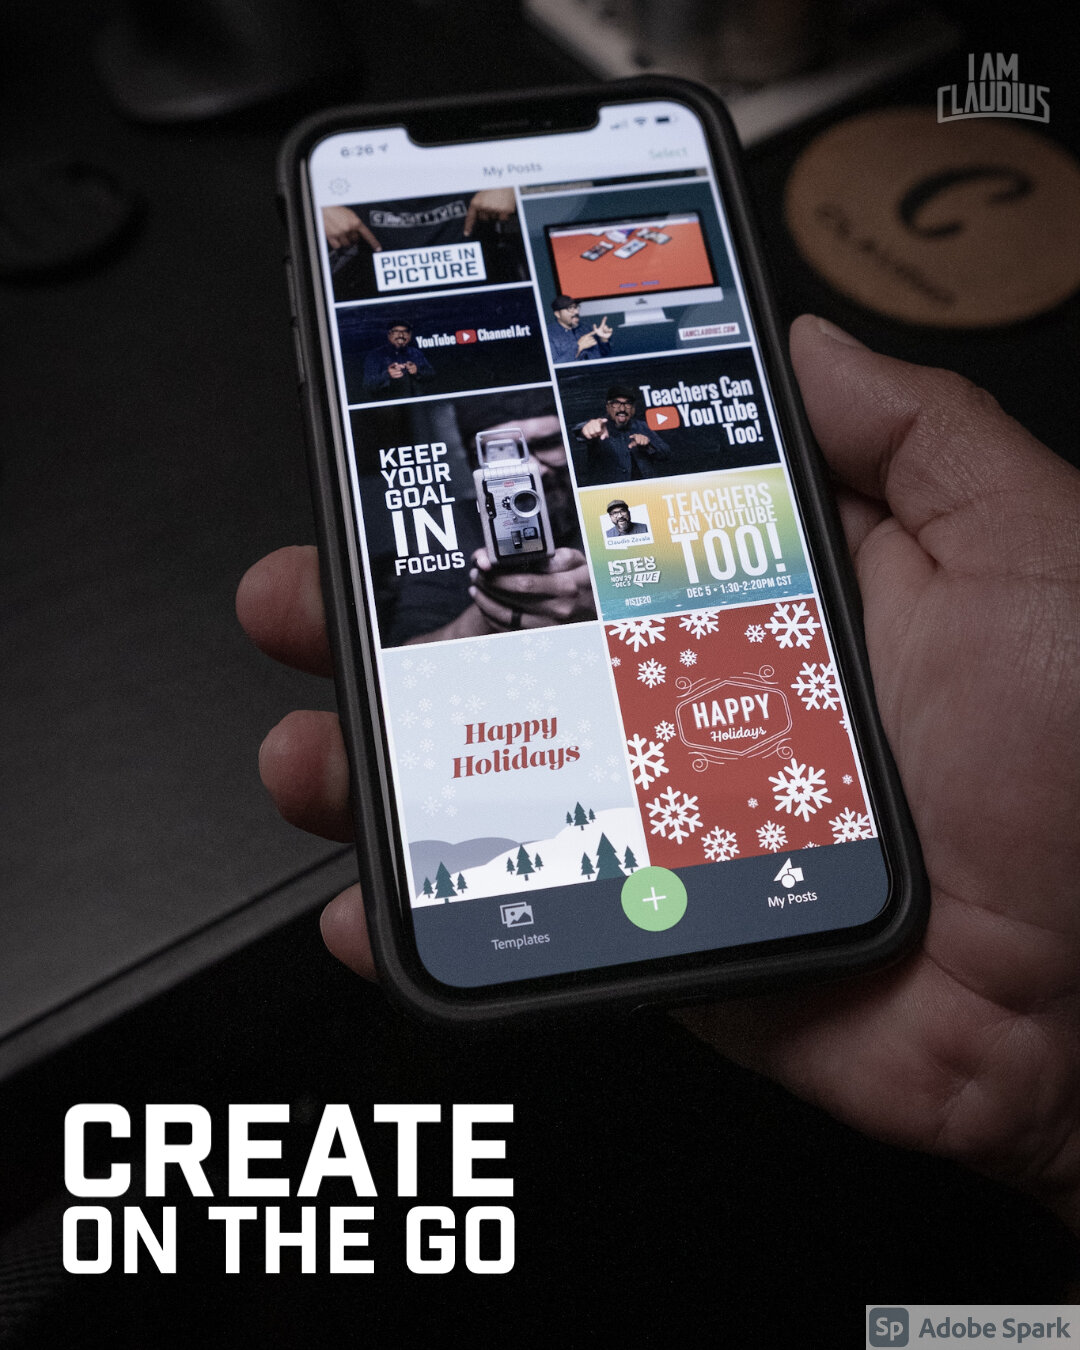


Adobe Spark Post is a great tool for your students to create images. It’s free to use and now available for all students K-12 via Adobe Spark for Education. Whether your students are using Adobe Spark on the web or on an iOS device, students can create amazing professional looking content in a matter of minutes. Sharing their story is now easier! All images by Claudio Zavala Jr. except wrote noted.